Installation
Prerequisites
-
Ensure the computer for install meets the Minimum System Requirements
-
Log in under a Windows account with Administrator rights.
-
If installing an update, go to System Administration to Backup Data before updating.
-
Exit all open programs, including Church Windows.
Download Installer
Updates
-
Make sure you're on the latest version by comparing your version number to the latest available in Updates .
Full Install
-
After completing your order, you'll receive an email with a link to download the Full Install.
-
Click the
 to download the zip file to your computer. Often, this goes to your Downloads folder. Once the download has finished many browsers show the file in the lower left hand corner. Double click to open or click the arrow to open the file location by clicking Show in Folder.
Installation Steps
-
Double click on the .EXE file to launch the installer.
-
Say Yes when asked if Church Windows can make changes to your computer.
-
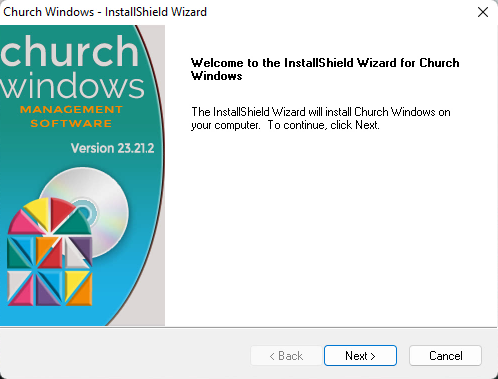
Click Next from the Welcome screen and select Setup Type.

Server
Choose the stand alone or server option if this is the only computer where Church Windows will be installed or if this will act as a server where the program is located as a part of a Network Installation.
Workstation
If this is a computer linked to the server computer on a Network, select this option. This should be completed after the program has been set up on the server.
-
Click Next to begin installation process.
-
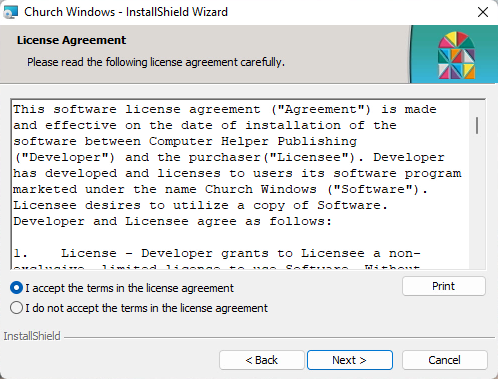
Review and agree to the terms in the Software License Agreement.
-
Select the Install Type.
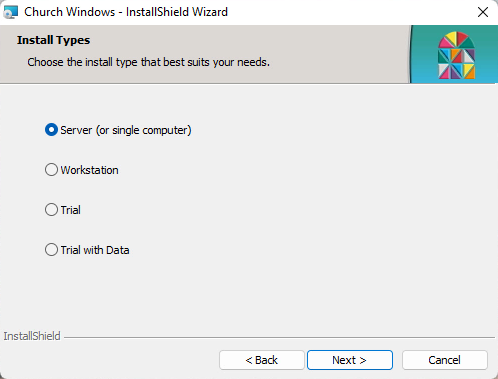
Server
Choose the stand alone or server option if this is the only computer where Church Windows will be installed or if this will act as a server where the program is located as a part of a Network Installation.
Workstation
If this is a computer linked to the server computer on a Network, select this option. This should be completed after the program has been set up on the server.
Trial
This installs a trial version of the software without any placeholder data.
Trial with Data
This installs a trial version of the software with a sample data that allows you to explore features without entering information.
-
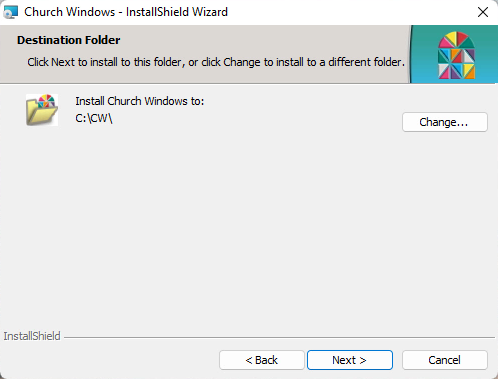
Select the Install Destination. We recommend keeping the default of the root of the C drive in a CW folder. Click Next.
-

Click Install.
Click the install button only once. You may have the opportunity exercise patience as the installer completes. Do not close out of any of the windows until you've reached the confirmation screen.
-
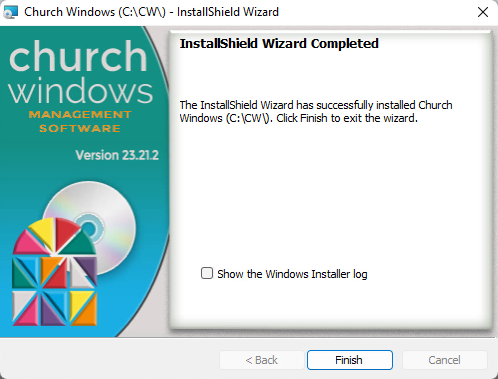
Click Finish.
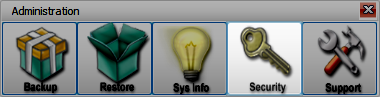
Administrative Setup
-
Upon opening Church Windows for the first time, you'll be asked whether you want to start with Blank Databases or Restore Data.
-
If you're starting a new database, the first information you'll need to enter is about your Organization under Administration > System Information
-
Enter your organization information and tax identification numbers in System Information. This information will be used for headings and titling where organization information is needed for things like reports, directories, and checks.

-
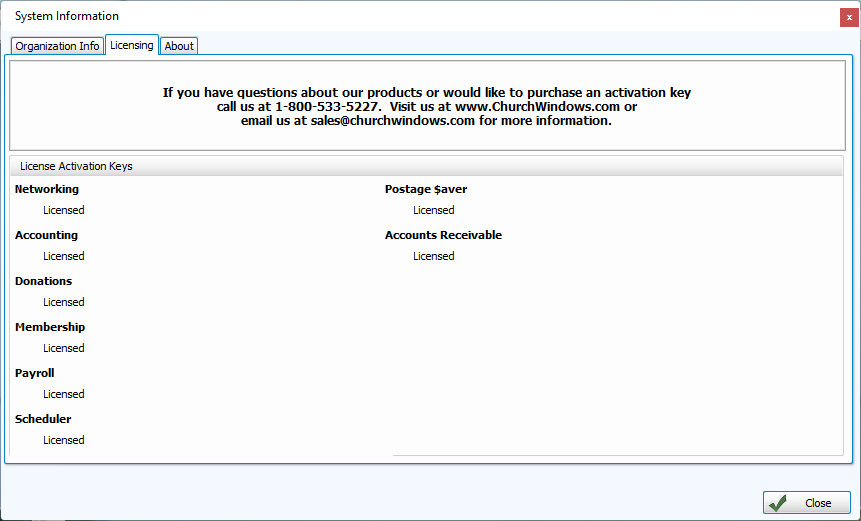
License modules you've purchased by entering the keys on the Licensing tab. Once licensed, these keys will be included in Backup Data and are included when you Restore Data.
-
Create accounts for each person who will use Church Windows and set up their access permissions in Users & System Security